Showing posts with label Kids. Show all posts

Tuesday, January 15, 2013

Tube Drop Game

Pin It
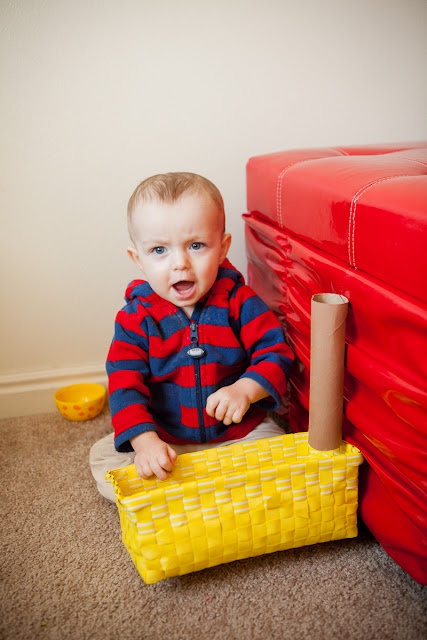
Yesterday I made a little "Tube Drop" game for my son.  

You put tape a paper towel roll up and put a basket underneath the tube. 
What an easy set up!

Put a ball (or some other object) in the top of the tube.
The ball magically drops into the basket.
 Pick up the ball.....
Do it all over again.
And look cute while doing it!

Saturday, January 12, 2013

Indoor Campfire

Pin It

Yesterday we had a "campfire" in our apartment.  It was really easy to put together and provided some fun entertainment.  Next time I think we just might have to put together a little tent and sing kumbaya haha.

To make the fire I used toilet paper and paper towel rolls.  Technically I painted them with brown paint, but it turns out the brown was pretty much the same color as the rolls so it made very little difference.  I was planning on just using tissue paper for the flames, but I didn't have any orange tissue paper and we couldn't have an all red fire :)  So I threw in some colored foam.  I just stacked everything, but if you really wanted to, you could glue everything in place.

We laid out a brown blanket and pretended it was dirt.

For the marshmallows, I used 2 white pipe-cleaners each and wrapped them around some paintbrushes.  You could use real sticks or pencils or anything else you have lying around the house.

Then you roast yourself up some marshmallows!

If you had different colors of pipe-cleaners you could also use red or pink or brown to make yourself some "hotdogs" to cook as well.    

Wednesday, November 14, 2012

Blanket Fort

Pin It
When all else fails, build a fort.  Seriously, this blanket fort took 1 minute to put together and it entertained my daughter forever.  The fort made everything special - reading books, eating a snack, singing songs even lying down on the floor.

Tuesday, November 13, 2012

Glue Snowmen

Pin It

Okay I saw something like this on pinterest a while back and wanted to try them out.  It seemed like a fun craft to do with my daughter and with all the snow outside, I thought it was a good time to make them.

They didn't turn out perfectly, but I did learn some things along the way that I thought I'd share :)

Materials:
Wax paper
Elmer's glue
Tape
Buttons,
Paper
Oogly Eyes
Glitter
Other decorating supplies

The first thing I learned was that your wax paper needs to be totally flat and not wrinkled at all....woops!  Because my paper wasn't totally flat, I ended up with a large "crack" in my snowman because the glue just slid off of the high point of the crease.  So make sure your wax paper is flat and to ensure it doesn't get any wrinkles, take it down to your pan or whatever surface you're using.

I set my face and other embellishments out on the paper so I could figure out how big my snowman needed to be.
 Then I drew the outline of my snowman,
Next I filled it in.
 Then I put the face and other decorations on top of the glue.  Here is another lesson I learned....honestly...felt is not so great.  It absorbes the glue and leaves very little for the actual body of the snowman so he was a bit weak around the neck area.  I'd use foam or paper instead.  
 My daughter enjoyed decorating her snowman too.

Then you just let the glue dry.  FYI this pretty much takes all day long.  Also.....if you use foam like I did for the hats, you'll want to peel the hats up a little bit after a few hours to let the air get to glue so it will draw quicker.  Once the glue is completely dry carefully feel the snowman off of the wax paper.

This is my daughters finished snowman.
 Here is mine.....notices the crack due to the crease in the paper?  Boo.  The good news is that it's an easy fix....all you have to do is glue it back together...ha!

Wednesday, October 31, 2012

Halloween Kiddies

Pin It
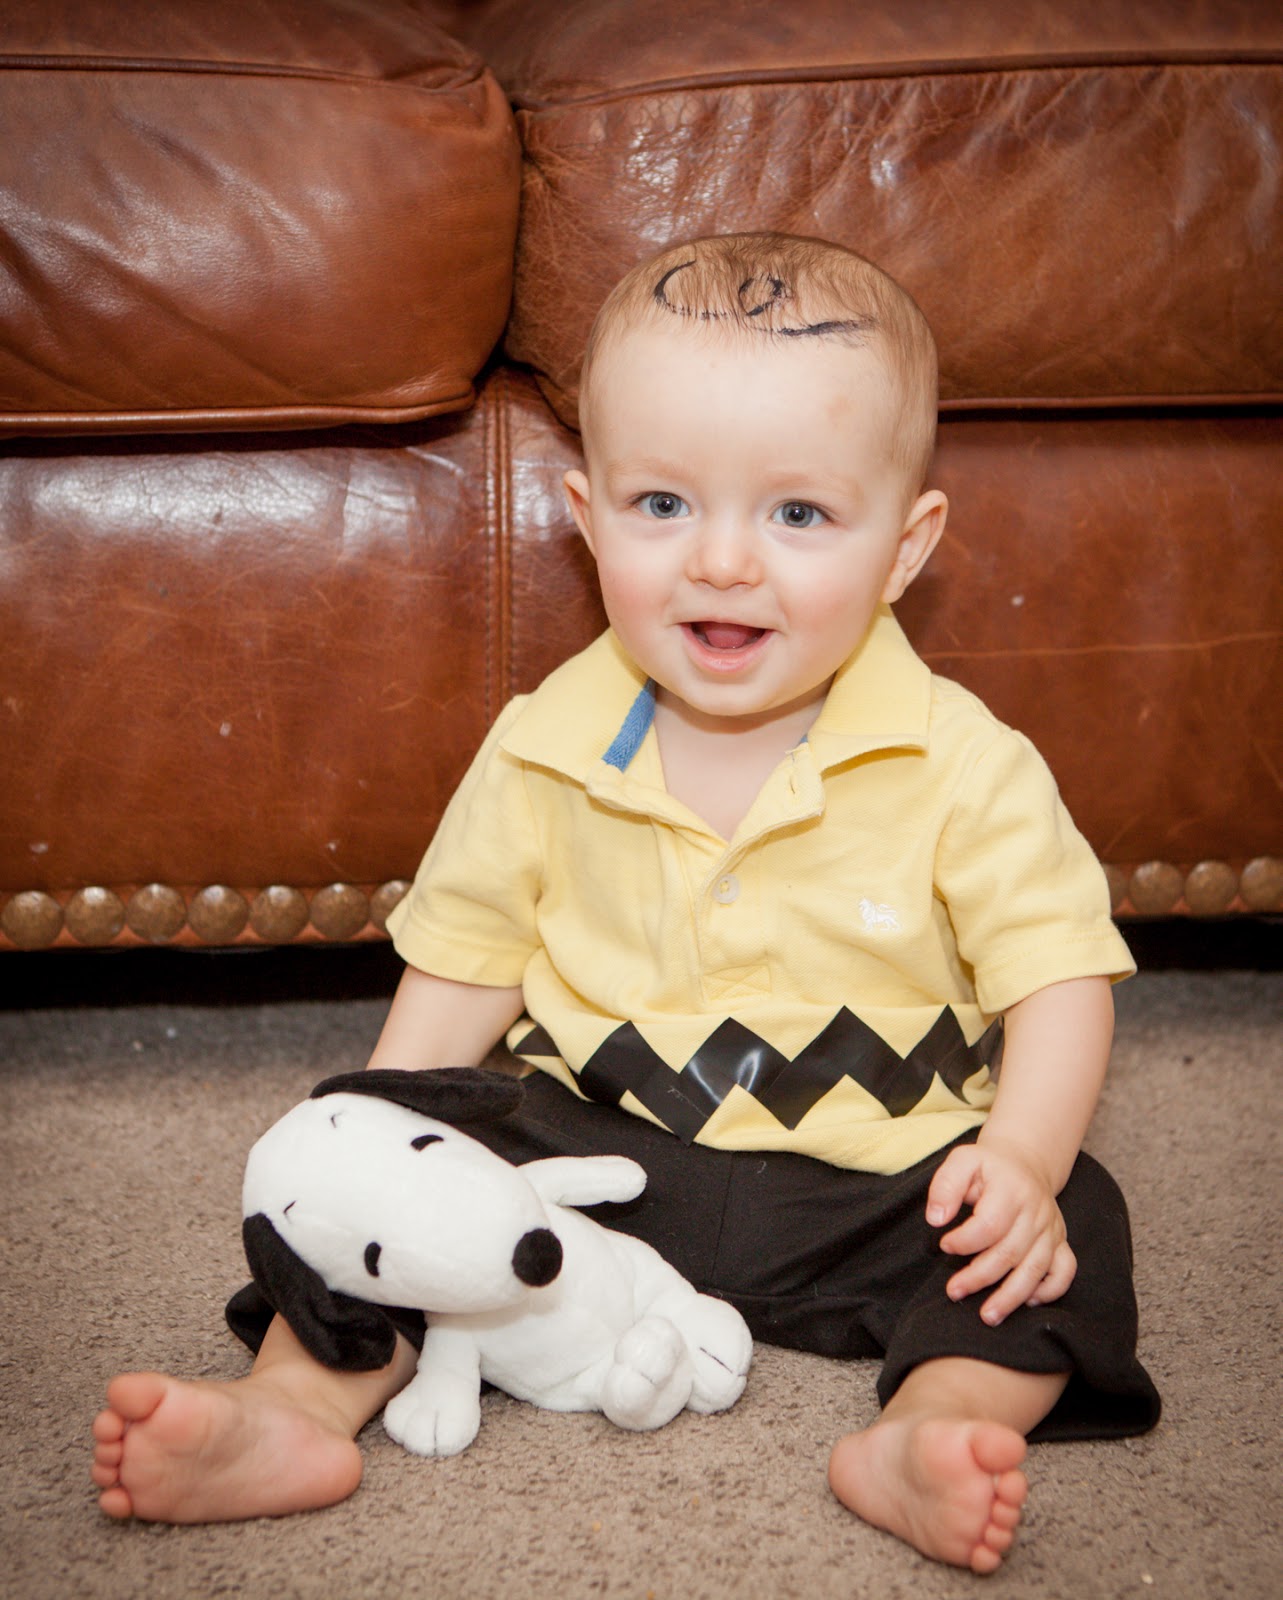
I love Halloween because I get to dress up my kids and there's something about a little face paint and a costume that makes your kids that much cuter.

My daughter was Minnie Mouse and my son was Charlie Brown.
She was SO fun to take trick-or-treating.


 My daughter's best friend was also Minnie Mouse.  How fun!

I thought it would be fun to post pictures of your adorable kids all dressed up.  Here are the photos that were submitted pictures.  Seriously, how cute are these photos???

The 3 Amigos


Luke, Leia and an Ewok


A Metro Card - From NYC.  She made this using the freezer paper stencil technique.  Wishing them well as they try to recover from Hurricane Sandy.
The whole Peter Pan Crew.  So cute!


Ken, Barbie, Woodie and Buzz - So fun!


Thursday, October 25, 2012

Paper Plate Tambourine

Pin It
Let's be honest.....I loved making little musical instruments as a kid and a paper plate tambourine thingy was no exception.  My daughter loves dancing around and I thought she'd enjoy making some sound while doing so.  I was right.  The great news is that these are really super easy and quick to make.

Get two paper plates and places some dried beats in one.  
 Then tape the two plates together with the beans inside.
 Then let your child design their tambourine however they want.  Honestly, you could fill the plates up with any small hard objects that will make noise.

Wednesday, October 24, 2012

Mommy Moment: Check Out Chit-Chat

Pin It
Kids can say some pretty embarrassing things to people sometimes and I'd say my fair share of these moments are in the check-out line at a store.  Today's mommy moment is from Erin and is about one of these wonderful situations.

I was in the check out line at Target and David walked up to the cashier and said, "Hi, my name is David and you have a chubby belly!"  So embarrassed!

Thursday, October 18, 2012

Quiet Time Bottle

Pin It
I am always looking for things to keep my daughter entertained at church that aren't super noisy. We made this together and brought it with us to church and it worked for a little while.  I've also heard of people making quiet bottles for when they send their child to time-out.  The good news is that they are really easy and cheap to make so if they don't work as well as you'd hoped, you aren't out a ton of money.

To make the quiet time bottle, use an empty water bottle and fill it with things like buttons, pom poms, beads, cheap ribbon, etc.  The buttons will fall while the pom poms float so it makes it more entertaining for kids to watch as they tip it back and forth.
 After you've finished filling it with your items, fill your bottle with water, or baby oil.  The baby oil will make every thing move in slowmotion which is fun.  Then put the lid on tight.  Now use hot glue to seal up the lid all around.  That way they can't open the bottle and make a big mess.  You could also use super glue on the inside of the cap.  I couldn't find my super glue at the time so I just stuck with the hot glue on the outside.

Friday, October 12, 2012

Bath Foam Faces

Pin It
My daughter LOVED this.  I used the foam sheets that can be bought at any craft store, Wal-mart or even dollar store.  Then I cut out the different shapes needed to made a face.  For the eyes I used permanent marker to draw the iris and pupil since I didn't want to have to cute out more little circles, but I would recommend just using foam.....the marker still came off a little bit.  The great thing about the foam is that you don't need magnets, velcro or anything other than water to make it stick to the bathtub wall or onto itself!
She put the boys nose on crooked so he looked a bit like Pinochio ha.